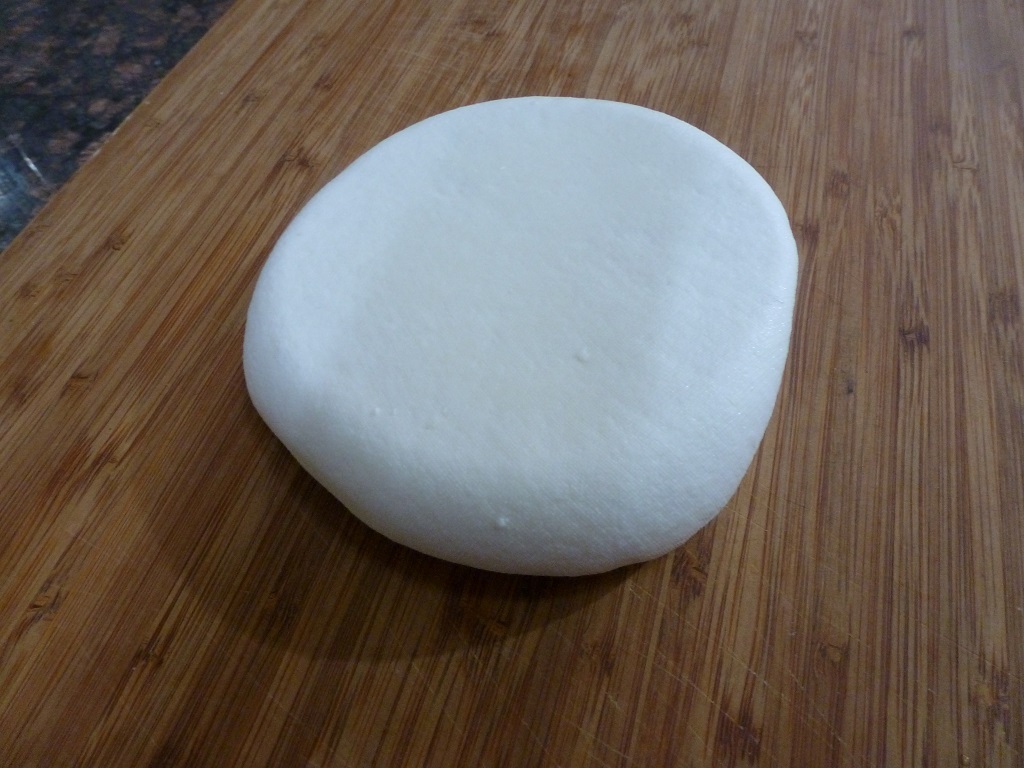
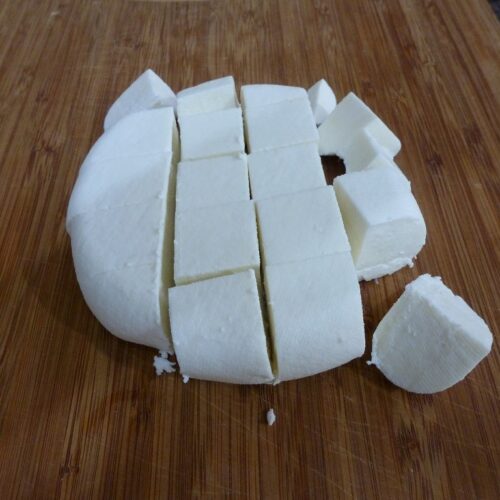
In today’s post, I’ll show you step-by-step how to prepare super soft paneer from scratch. Making paneer at home is a very easy process. Also, this homemade paneer is amazingly soft in texture and delicious in taste.

Homemade paneer is much much better than store bought paneer and I always prefer to make my own paneer at home. Homemade paneer is not only wholesome and fresh also, free from any chemicals and preservatives. For making high or low fat content paneer at home the only thing we need to choose the type of milk.
- What is Paneer?
- How we can make low fat paneer at home
- Why should you try this homemade paneer recipe
- Where we can use this homemade paneer
- FAQs
- Some other paneer recipes you would like to try
- My Latest Video Recipe
- Health Benefits of Eating Low-Fat Paneer
- Step by step guide to make low fat paneer at home
- Serving Suggestions
- Tips and Tricks
- Recipe Card
- How to Make Low Fat Paneer At Home : A Step-by-Step Guide
What is Paneer?
Paneer which is also called Indian cottage cheese, a type of fresh cheese made by curdling of milk. We use an acidic food ingredient to curdle the milk like white vinegar, lemon juice, curd (yogurt), or citric acid. After curdling, milk solid is separated with the help of a strainer from the liquid part. Then we transfer it to a cotton or cheese cloth and pressed it with a heavy object for few hours to set. Once it sets, we can cut it into pieces and it is ready to use where ever you want to.
How we can make low fat paneer at home
Following the given process you can easily make paneer either with be full fat milk or toned milk. The steps are same but only difference in the type of milk used.
Here, I am preparing low fat version of paneer so used low fat toned milk. I used AMUL brand toned milk that is lower in fat than regular whole milk. But you are free to choose milk of your desire.
Why should you try this homemade paneer recipe
- Simple and easy to follow steps
- Healthier option to replace adulterated market bought paneer
- Can be prepared at your convenience
- Refine your skills
- Chemicals and preservative free
Where we can use this homemade paneer
Paneer, a versatile and protein-packed Indian cheese, is a staple in many dishes, both savory and sweet. While traditional paneer is rich and creamy, you can easily create a healthier version by making low-fat paneer at home.
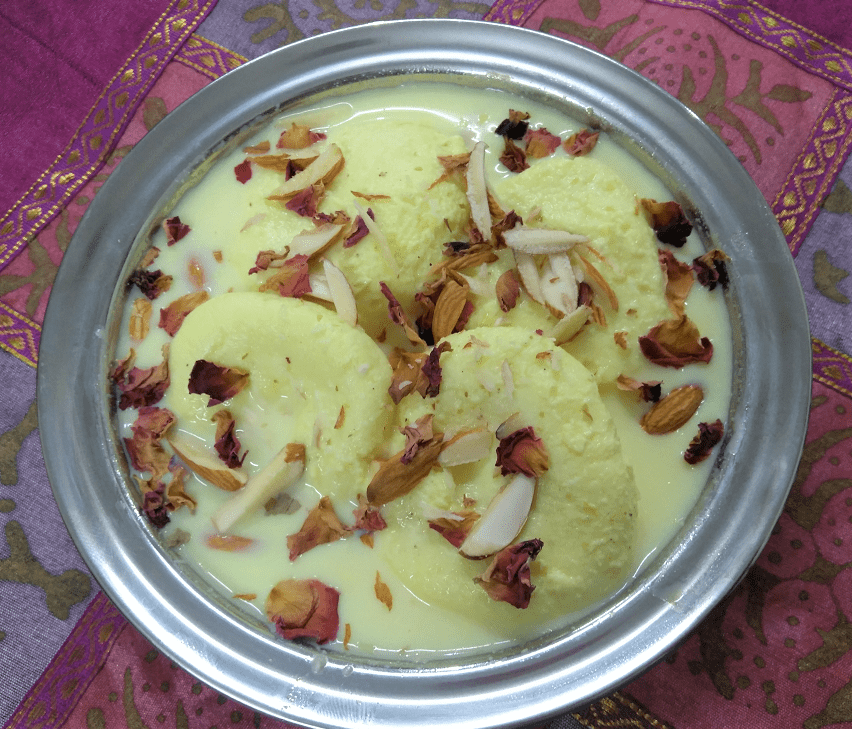
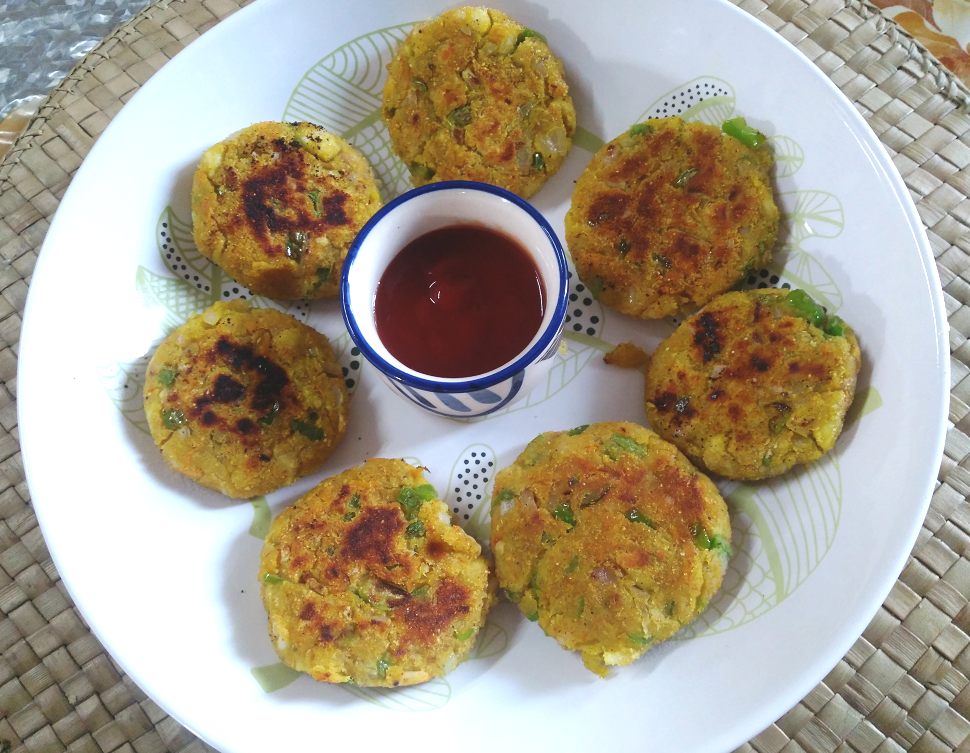
We can enjoy this low fat paneer in many dishes like kalakand, Lauki and Paneer Ladoo, Carrot Paneer Ladoo, Baked Paneer Fingers, Stuffed Paneer Paratha, salad, Low Sugar Rasmalai, paneer makhani, kadhai paneer, paneer do pyaja, etc. etc. There is a long list of recipes that you can prepare using homemade paneer.
Remember, homemade paneer has a lighter and fresher taste compared to store-bought options. Its softness and ability to absorb flavors make it an adaptable ingredient that can be used to elevate both savory and sweet dishes. So, don’t be afraid to get creative and experiment with incorporating your homemade paneer into different recipes!
FAQs
Why Opt for Low-Fat Paneer?
Paneer is a fantastic source of protein and calcium, making it a popular choice for vegetarians and those looking to include more dairy in their diet. However, its high-fat content can be a concern for individuals striving to maintain a healthy lifestyle. Low-fat offers a solution by retaining the protein-rich goodness while reducing the fat content.
How much paneer we get?
Around 250-270 gm of paneer we will get from 1.5 litre of toned milk. It will be little more if we use full fat or whole milk.
Some other paneer recipes you would like to try
- Coconut Paneer Barfi
- White Gravy Paneer
- Low Fat Paneer Kofta
- Homemade Paneer Pizza
- Paneer Tikka Recipe on Tawa

Here are some delicious ideas for where you can use your homemade low fat paneer
Paneer Curries:
Create rich and flavorful curries like Palak Paneer, Matar Paneer, or Paneer Tikka Masala. The soft paneer absorbs the delicious sauces and spices, making for a hearty and satisfying dish.
Paneer Paratha or Stuffed Roti:
Stuff your homemade paneer into flatbreads for a wholesome and flavorful meal. Paneer-stuffed parathas or rotis are a favorite breakfast or lunch option.
Paneer Wraps and Sandwiches:
Layer slices of paneer in wraps or sandwiches for added texture and protein. Combine it with fresh vegetables, chutneys, and sauces for a quick and satisfying meal.
Paneer Salads:
Cube or crumble paneer to toss into salads, adding a creamy element to your greens. It’s a great way to balance the flavors and make your salads more filling.
Paneer Appetizers:
Use paneer to create delectable appetizers like Paneer Tikka, Paneer Kebabs, or Paneer Samosas. The softness of the paneer contrasts perfectly with the crispy exteriors.
Paneer Stir-Fries:
Add paneer to stir-fries with vegetables for a protein boost. The paneer’s texture works well with a variety of sauces and seasonings.
Paneer Desserts:
Believe it or not, paneer can also be used in desserts. Make treats like Rasgulla, Sandesh, barfi or Rasmalai by combining paneer with sugar and other flavorful ingredients.
or many more recipes you can create with paneer.
My Latest Video Recipe
Health Benefits of Eating Low-Fat Paneer
Low-fat paneer, also known as cottage cheese, is not only delicious but also brings some wonderful health benefits to the table. Here’s a simple breakdown of why enjoying this soft and light cheese can be good for you:
Protein Powerhouse:
Low-fat paneer is packed with protein. Protein is like the building blocks for our bodies, helping us grow, repair tissues, and stay strong.
Weight Watcher’s Friend:
Since low-fat paneer has less fat, it’s a great choice if you’re looking to manage your weight. It’s satisfying and can keep you feeling full for longer, which might help you avoid overeating.
Boost Bone Health:
Did you know that paneer is a source of calcium? Calcium is what makes our bones strong. So, eating low-fat paneer can help keep your bones healthy and prevent problems like osteoporosis.
Energy Booster:
Paneer gives you a good amount of energy. This can be especially handy if you need a quick energy boost during the day or after a workout.
Muscle-Friendly:
The protein in paneer is excellent for your muscles. It can help repair and build muscle tissues, which is important whether you’re active or not.
Immune Support:
Paneer has nutrients like vitamin A and zinc that can help support your immune system, making it easier for your body to fight off illnesses.
Skin and Hair Benefits:
Some of the nutrients in paneer, like vitamin E and protein, are great for your skin and hair. They can help keep your skin glowing and your hair shiny.
Heart Health:
Low-fat paneer is lower in saturated fats, which can be good for your heart. Eating foods lower in unhealthy fats can help keep your heart in better shape.
Digestive Aid:
Paneer contains probiotics, which are friendly bacteria that can help your digestive system work smoothly. A healthy gut means better digestion.
Versatile and Tasty:
Beyond health benefits, low-fat paneer is versatile and can be added to various dishes. It’s not just healthy; it’s a tasty addition to your meals!
Remember, while low-fat paneer has great benefits, it’s important to enjoy it as part of a balanced diet. Including a variety of foods is key to getting all the nutrients your body needs. So, next time you savor that delicious paneer dish, you can feel good knowing that you’re treating your body well!

Step by step guide to make low fat paneer at home
Creating a paneer or low-fat paneer at home is not only a healthier option but also a rewarding culinary experience. By following these steps and incorporating these tips and tricks, you can enjoy the creamy goodness of paneer without compromising on your dietary goals. So, go ahead and whip up a batch of this nutritious delight to enjoy in your favorite dishes!
Prep Your Utensils and Ingredients:
1.Gather all your utensils and ingredients before you begin the process. Ensure that your strainer is clean and ready to use, and have the lemon juice or white vinegar at hand.
Heat the Milk:
2. First, add little water in a heavy bottom sauce pan and then pour the low-fat toned milk into it. Use low-fat milk to ensure that your paneer is truly low in fat. Gradually heat the milk over medium flame, stirring occasionally to prevent it from sticking to the bottom and ensure there is no cream layer will set on the top.


3. Once the milk is boiled switch off the flame and stir milk for few seconds so that on fat layer will be deposit on the top.
4. In a bowl mix water and citric acid and put it aside.


Curdle the Milk:
5. Once the milk is cooled slightly, add the add citric acid mixture gradually 1-2 tsp at a time.
6. Stir milk continuously and watch as the milk curdles. You’ll see the curds (paneer) will start separating from the whey (liquid).


7. Add little more citric acid mixture and stir till the milk fully curdled. If the curdling doesn’t happen, add a little more citric acid mixture.


Separate Curds and Whey:
8. Line your strainer with cheesecloth or muslin cloth and place it over a bowl to catch the whey. Carefully pour the curdled milk into the strainer, allowing the whey to drain away. You can save the whey for other uses, such as adding it to smoothies or using it in cooking.


Rinse the Curds :
9. Now rinse the curds under cold running water or wash it in a pan filled with cold water. This also helps in removing the tangy taste of citric acid, lemon juice or vinegar whatever we are using for curdling the milk.


Shape and Set the Paneer:
10. Gather the corners of the cheesecloth and tie them together, creating a pouch containing the curds. Hang the pouch over the sink or a bowl for about 30 minutes. This step helps in further draining excess whey. Or you can squeeze out excess whey as you can.


11. Place the tied pouch on a flat surface and gently press it to remove any remaining whey. You can place a heavy object on top to aid in pressing. After 2-2.5 hours, your paneer will be ready to use.


Storage:
12. Low-fat paneer has a shorter shelf life compared to regular paneer due to its reduced fat content. Store it in the refrigerator and use it within 2-3 days for the best quality. Place the paneer in a container filled enough water to soak it before storing it.


Serving Suggestions
Enjoy this soft low fat homemade paneer as a delicious high protein snack or use it in making of various sweet and savoury dishes of your choice as mentioned above.
Tips and Tricks
- The quality of your paneer largely depends on the milk you use. Choose high-quality low-fat milk for the best results.
- Once the milk is boiled, give a rest of 5-7 minutes to cool it before starting the curdling process.
- Avoid adding too much citric acid mixture at once. Gradual curdling ensures a smoother separation of curds and whey.
- Instead of citric acid you can use lemon juice or white vinegar for curdling milk.
- Placing the tied pouch of curds in ice water or wash it with cold water helps in retaining a soft and crumbly texture.
- If you want a flavoured paneer, consider adding finely chopped herbs like mint, coriander, or dried spices before shaping and setting.
Recipe Card

How to Make Low Fat Paneer At Home : A Step-by-Step Guide
Ingredients
- 1.5 litre low-fat milk Toned Milk
- ½ tsp citric acid crystals or 2 tablespoons of lemon juice or white vinegar
- Cheesecloth or muslin cloth
- Strainer
- Heavy-bottomed pan
- Bowl of ice water optional
Instructions
Prep Your Utensils and Ingredients:
- Gather all your utensils and ingredients before you begin the process. Ensure that your strainer is clean and ready to use, and have the lemon juice or white vinegar at hand.
Heat the Milk:
- First, add little water in a heavy bottom sauce pan and then pour the low-fat toned milk into it. Use low-fat milk to ensure that your paneer is truly low in fat. Gradually heat the milk over medium flame, stirring occasionally to prevent it from sticking to the bottom and ensure there is no cream layer will set on the top.
- Once the milk is boiled switch off the flame and stir milk for few seconds so that on fat layer will be deposit on the top.
- In a bowl mix water and citric acid and put it aside.
Curdle the Milk:
- Once the milk is cooled slightly, add the add citric acid mixture gradually 1-2 tsp at a time.
- Stir milk continuously and watch as the milk curdles. You’ll see the curds (paneer) will start separating from the whey (liquid).
- Add little more citric acid mixture and stir till the milk fully curdled. If the curdling doesn’t happen, add a little more citric acid mixture.
Separate Curds and Whey:
- Line your strainer with cheesecloth or muslin cloth and place it over a bowl to catch the whey. Carefully pour the curdled milk into the strainer, allowing the whey to drain away. You can save the whey for other uses, such as adding it to smoothies or using it in cooking.
Rinse the Curds :
- Now rinse the curds under cold running water or wash it in a pan filled with cold water. This also helps in removing the tangy taste of citric acid, lemon juice or vinegar whatever we are using for curdling the milk.
Shape and Set the Paneer:
- Gather the corners of the cheesecloth and tie them together, creating a pouch containing the curds. Hang the pouch over the sink or a bowl for about 30 minutes. This step helps in further draining excess whey. Or you can squeeze out excess whey as you can.
- Place the tied pouch on a flat surface and gently press it to remove any remaining whey. You can place a heavy object on top to aid in pressing. After 2-2.5 hours, your paneer will be ready to use.
Storage:
- Low-fat paneer has a shorter shelf life compared to regular paneer due to its reduced fat content. Store it in the refrigerator and use it within 2-3 days for the best quality. Place the paneer in a container filled enough water to soak it before storing it.
Video
Notes
- The quality of your paneer largely depends on the milk you use. Choose high-quality low-fat milk for the best results.
- Once the milk is boiled, give a rest of 5-7 minutes to cool it before starting the curdling process.
- Avoid adding too much citric acid mixture at once. Gradual curdling ensures a smoother separation of curds and whey.
- Instead of citric acid you can use lemon juice or white vinegar for curdling milk.
- Placing the tied pouch of curds in ice water or wash it with cold water helps in retaining a soft and crumbly texture.
- If you want a flavoured paneer, consider adding finely chopped herbs like mint, coriander, or dried spices before shaping and setting.
Try out this easy step by step guide to make low fat paneer recipe at home. If you like the recipe share it with your friends and family and don’t forget to give us a 5 star rating. How it works for you, take a picture and tag it #healthicallykitchen on Instagram. Or, save it for later on Pinterest. I love to see them. Happy cooking!


