Quick raita made with bottle gourd | Ghia ka raita is a creamy yogurt side dish. In preparing bottle gourd raita we need grated and boiled bottle gourd, cold curd, and some spices. It is a quick and simple recipe that will be ready under 15 minutes.
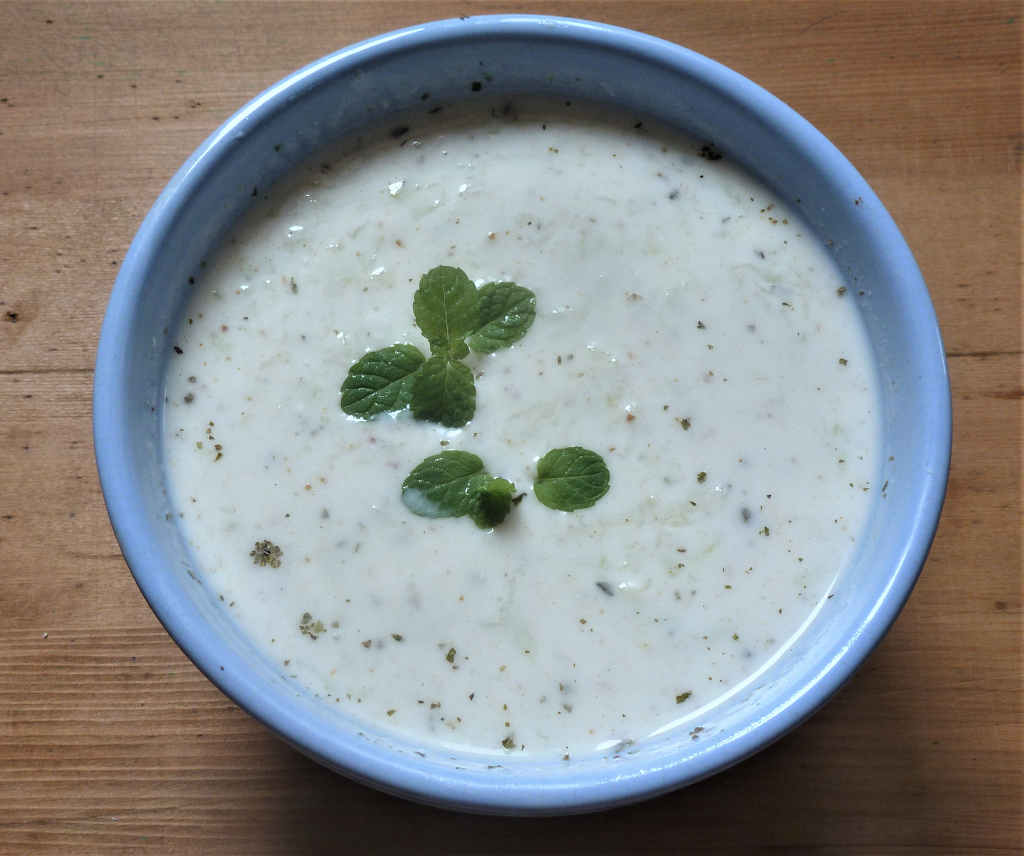
Raita made with bottle gourd is best goes with the main course meal or biryani or any rice dish. Ghia raita is a low calorie, gluten-free, diabetic-friendly recipe therefore enjoyed at snack time as a low-calorie snack.
- What is Raita
- How to make bottle gourd/ghia ka raita
- Main ingredients used in the making of raita made with bottle gourd
- Step by step preparation of quick raita made with bottle gourd
- Other Recipes you would like to try
- Tips and tricks
- Recipe card
- Quick raita made with bottle gourd | ghia ka raita
- My latest videos
Bottle gourd is one of the healthy veggies that is commonly known as ghia, lauki or doodhi in India. Bottle gourd/lauki is a very versatile vegetable that mainly used in preparing a main course sabzi dish or soup or juice or halwa or even kheer.
Lauki is a very popular summer food in India, to know more click here
What is Raita
Raita is a creamy side dish in which thick curd is the main ingredient. We can add fresh fruits, boiled or raw veggies, green leafy vegetables and some spices to make different variety of raitas. Raita best served as a side dish with the main meals at lunch or dinner, or as a accompaniment with rice dishes.
Ghia raita is very low in calories, can also be served as a low calorie snack. Traditionally, full fat curd in preparing of raita as it provides a rich creamy texture but you can also replace it with low fat curd to cut down the calories.
How to make bottle gourd/ghia ka raita
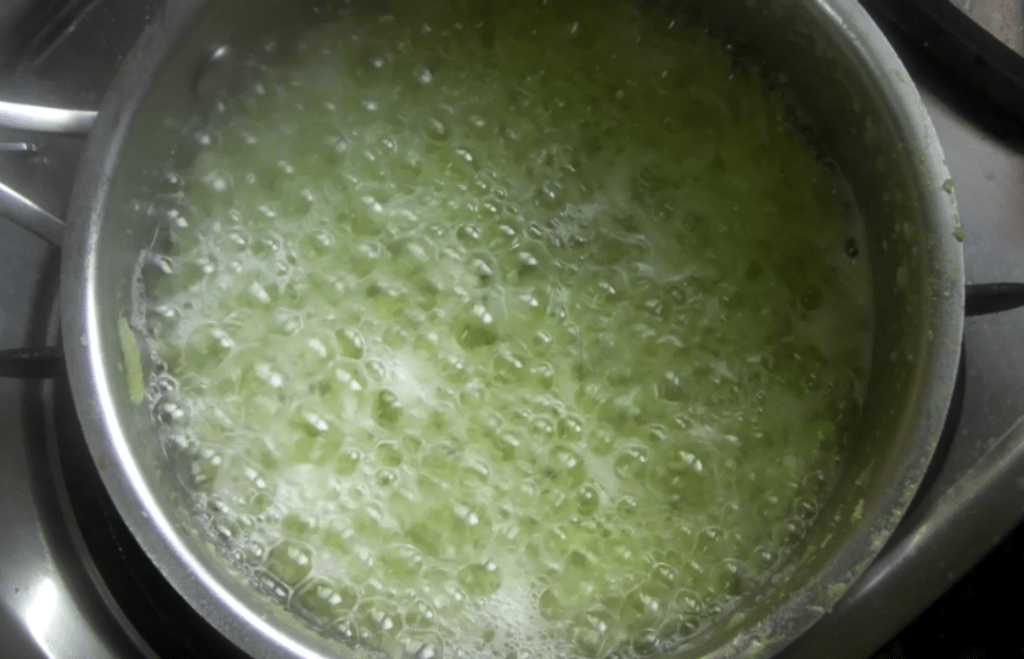
For making quick bottle gourd raita firstly we peel and grate bottle gourd/ lauki, and then boil it in a sauce pan or in pressure cooker till it become soft and tender but not mushy. In sauce pan method it with take around 7-8 minutes. In pressure cooker cook it till 1 whistle after which we would need to immediately release the steam, strain the water out and wait for it to cool down completely. After that we add it in the chilled curd and mix the spices, and the healthy raita made with bottle gourd is ready for serving.
Main ingredients used in the making of raita made with bottle gourd
Bottle gourd/Ghia known by many other names like white flower gourd, calabash gourd, new guinea bean, Tasmania bean, long bean. Not only it gives cooling effects to our body but also have lots of other benefits. It has sedative properties that helps in reducing stress, sleep disorders and gives relaxing effects. Lauki is a good source of iron, vitamins C, K and calcium. Its fresh juice is extremely beneficial for heart and keeps check on sugar levels and blood pressure, also reduces premature greying of hair and helps in retaining hair color. As rich source of fiber, it helps in weight loss.
Curd– It is a dairy product, rich in proteins and calcium. Curd is a fermented food, great probiotic and good for gut health. It is a powerful immunity builder and great for digestion.
Dry Mint leaves – It is rich in anti- inflammatory and anti oxidants, helps cure indigestion and upset stomach. Mint leaves provide a great aroma to the dish.
Roasted Jeera powder – It is also rich in anti- inflammatory and anti oxidants ingredients, helps in treating diarrhea, cures anemia, has anti cancer properties and keeps blood sugar in control.
Step by step preparation of quick raita made with bottle gourd
1. First wash bottle gourd/ghia, peel it and then grate it.
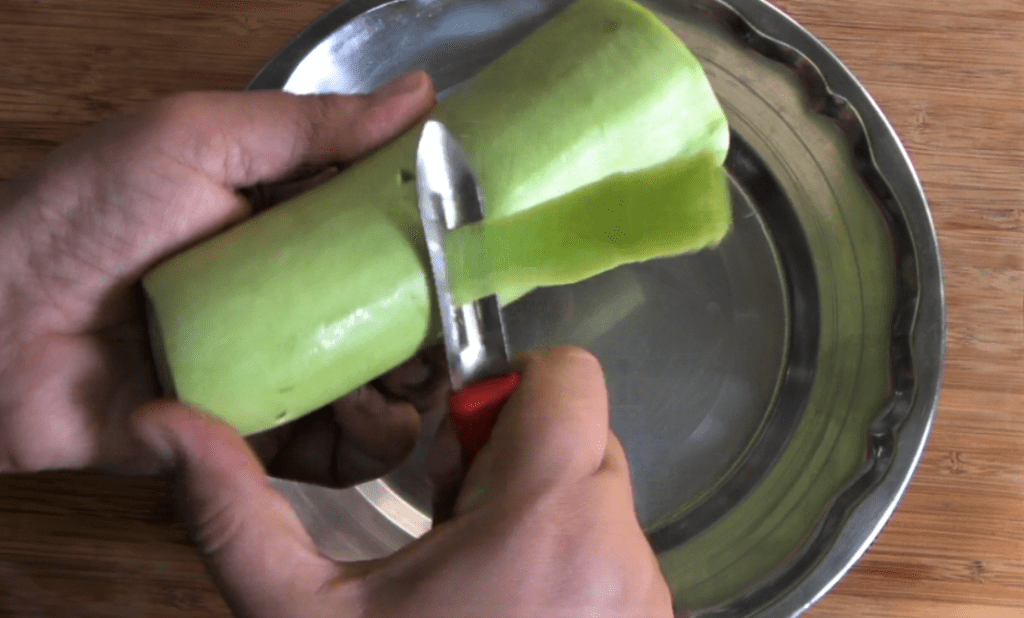

2. In a sauce pan, boil water than add grated ghia and let it boil for 7-8 minutes until it becomes transparent, soft and tender but not mushy. You can boil it in a pressure cooker up to one whistle and release the pressure immediately. Now strain it with a help of strainer and let it cool down completely.
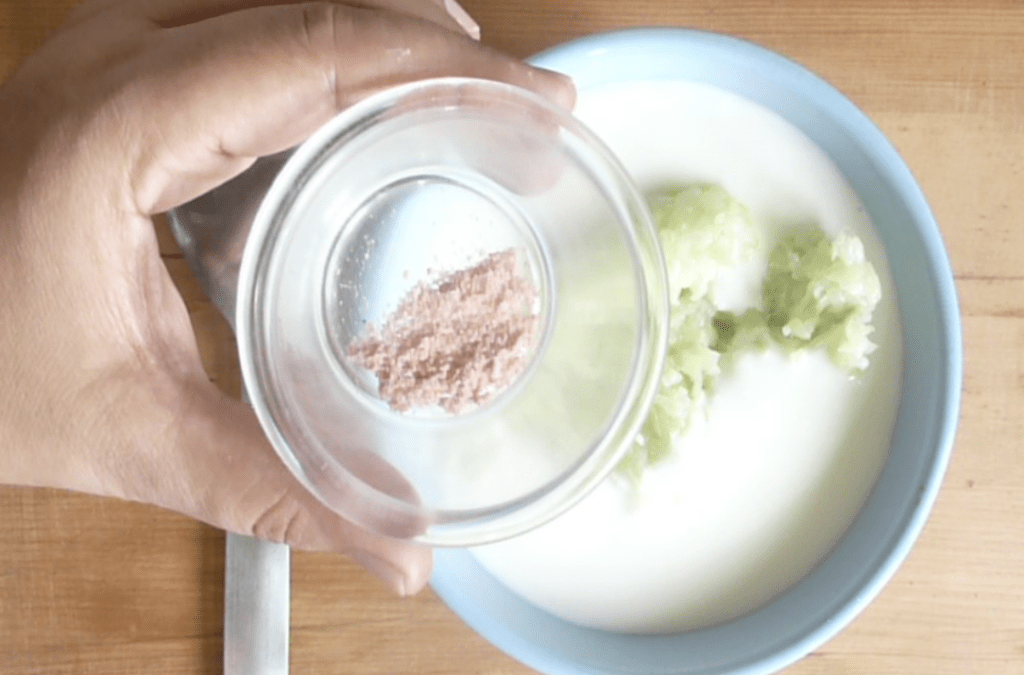
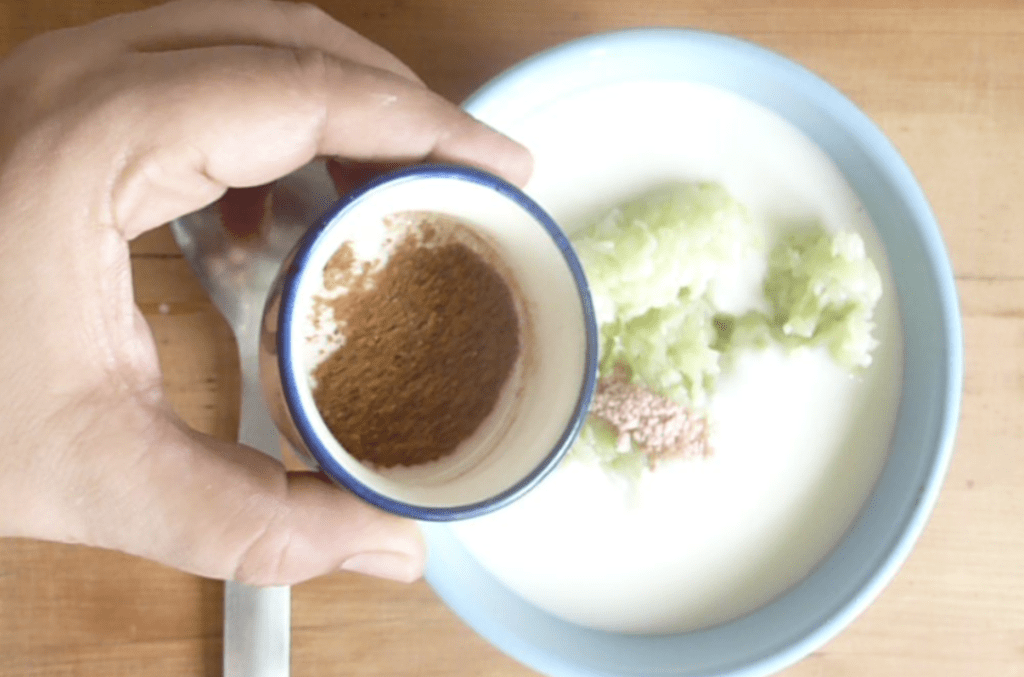
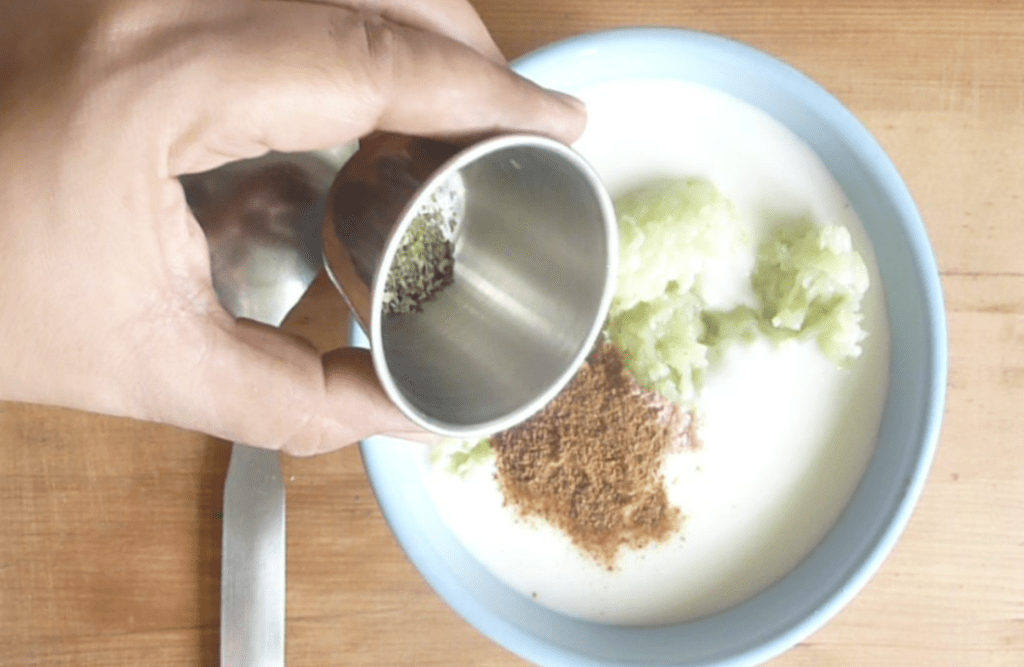
3. Now in a bowl, add whisked curd, boiled and cooled ghia, black salt, dry mint leaves, jeera powder, chat Masala and mix them.

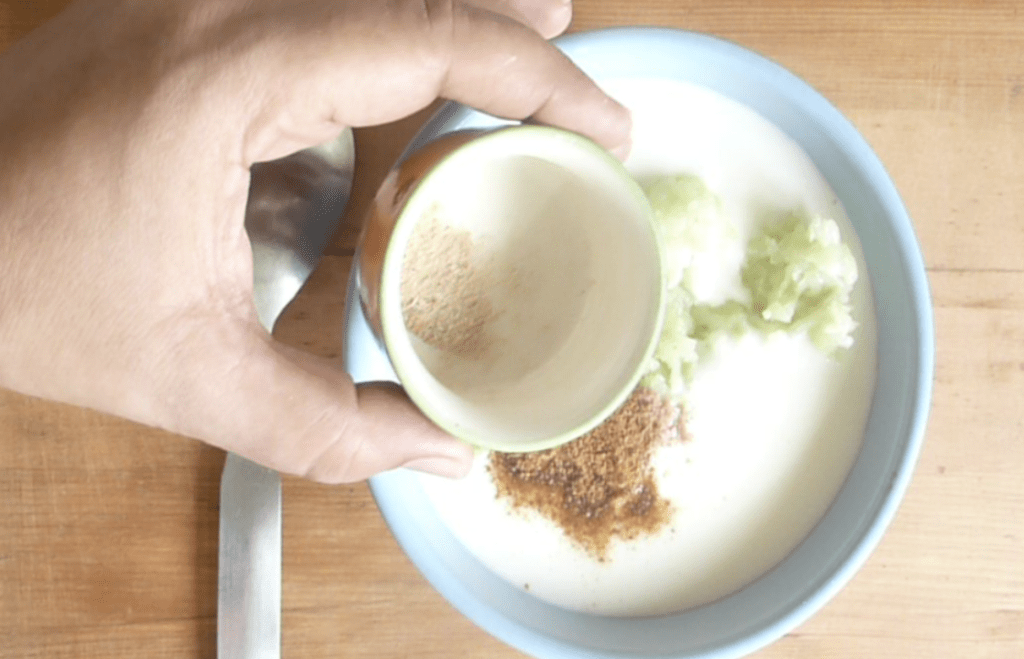

4. Garnish with fresh mint leaves. Serve cold with main course or enjoy at snack time

Other Recipes you would like to try
- Multigrain Pancake with Buttermilk
- Soft and Spongy Rasmalai Made with Toned milk
- How To Make Breakfast Oats Cookies
- Does it really matter what we eat?
- Easy Chocolate Ice-cream With Chocochips
Tips and tricks
- Bottle gourd/Ghia can be boiled beforehand and kept in the refrigerator. It will stay good for 2-3 days if properly stored in airtight container in the refrigerator.
- Add some cold water or ice to the boiled ghia to cool it down fast.
- Dry mint leaves can be replaced with fresh mint leaves or coriander leaves.
- To make raita little spicy you can add chopped green chili or red chili powder as per your taste.
- Use cold curd if serving immediately, if not then refrigerate it for 2-3 hours before serving.
- Do not add the salt while preparing. Salt will be added at the time of serving.
Recipe card
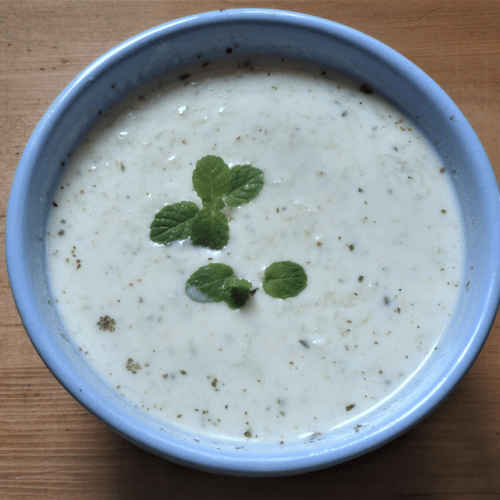
Quick raita made with bottle gourd | ghia ka raita
Ingredients
- 200 gm Ghia (lauki) grated
- 400 ml Low fat chilled Curd whisked (made with toned milk)
- 600 ml Water for boiling
- ½ tsp Black salt
- ½ tsp Jeera powder
- ½ tsp Crushed Dry mint leaves
- ¼ tsp Chat Masala
- Few Mint leave for decoration
Instructions
- First wash ghia, peel it and then grate it. In a sauce pan, boil water than add grated ghia and let it boil for 7-8 minutes until it becomes transparent. You can boil it in pressure cooker upto one whistle and release the pressure immediately.
- Now strain it with a help of strainer and let it cool down completely.
- In a bowl, add whisked curd, boiled and cooled ghia, black salt, jeera powder, dry mint leaves, chat Masala and mix them.
- Garnish with fresh mint leaves. Serve cold with main course or enjoy at snack time
Notes
2. Add some cold water or ice to the boiled ghia to cool it down fast.
3. Dry mint leaves can be replaced with fresh mint leaves or coriander leaves.
4. To make raita little spicy you can add chopped green chili or red chili powder as per your taste.
5. Use cold curd if serving immediately, if not then refrigerate it for 2-3 hours before serving.
6. Do not add the salt while preparing. Salt will be added at the time of serving.
My latest videos
Try this Quick raita made with bottle gourd recipe and let me know about your outcomes in the comments section below or tag #healthically on instagram. If you like this recipe, don’t forget to share it with your friends and family, and give us a 5 star rating.


