
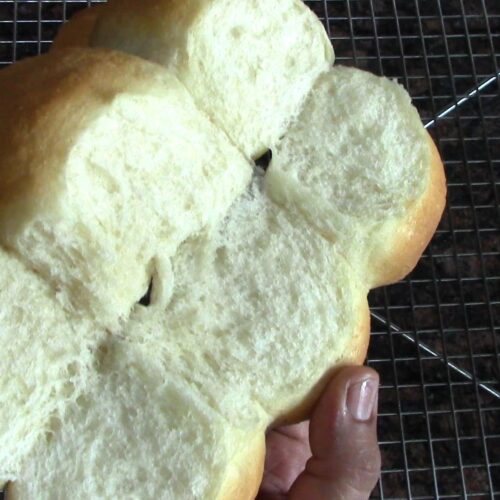
If you love pav bhaji, vada pav or simple butter pav but want a healthier alternative to store-bought pav, this Healthy Suji Pav Recipe is for you. These homemade pav are made without maida, eggs, preservatives or additives and turn out incredibly soft, fluffy and delicious.
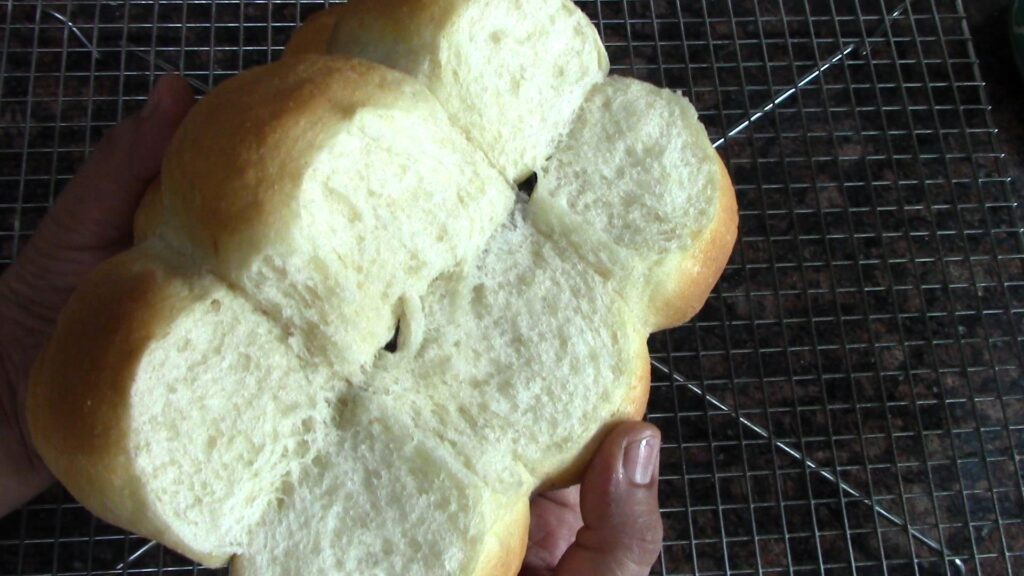
Made with semolina (suji), this recipe creates light and airy pav with a beautiful texture. The best part is that you know exactly what goes into them, making them a healthier choice for your family.
My Latest Video
Why You’ll Love This Recipe
- No maida
- Eggless
- No preservatives or additives
- Soft and fluffy texture
- Perfect for pav bhaji and vada pav
- Made with simple ingredients
- Fresh homemade bread
Ingredients for Making Semolina (Suji )Pav
Suji (Semolina)
Fine suji works best for this recipe. If using regular suji, you may grind it briefly in a mixer for a softer texture. Check the nutritional information for semolina (suji)
Instant Yeast
Instant yeast can be mixed directly into the dough, but proofing it first helps ensure it is active. Learn how yeast helps bread rise properly.
Khand
Khand is a less refined sweetener than white sugar. You can also substitute it with regular sugar or jaggery powder, coconut sugar etc. if needed.
Milk
Lukewarm milk helps create softer pav. For a dairy-free version, use unsweetened plant-based milk.
Butter
Butter gives the pav a tender crumb and soft crust. You can replace it with olive oil or a neutral oil if preferred.
You will also like my other healthy bread recipes– Tutti frooti bread, Cheesy garlic bread, Burger buns
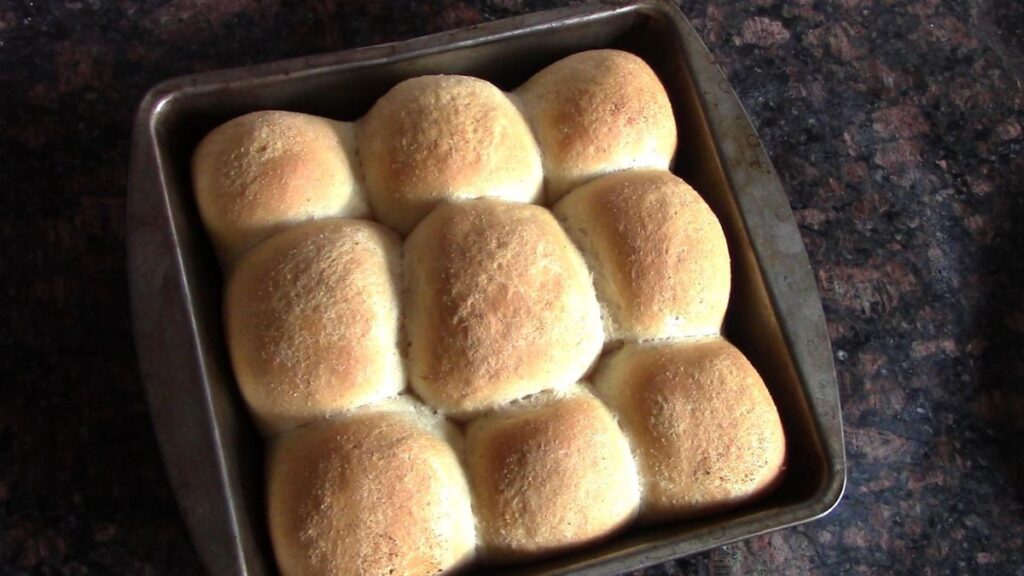
How to Make 100% Suji Pav at Home- Step-by-Step Instructions
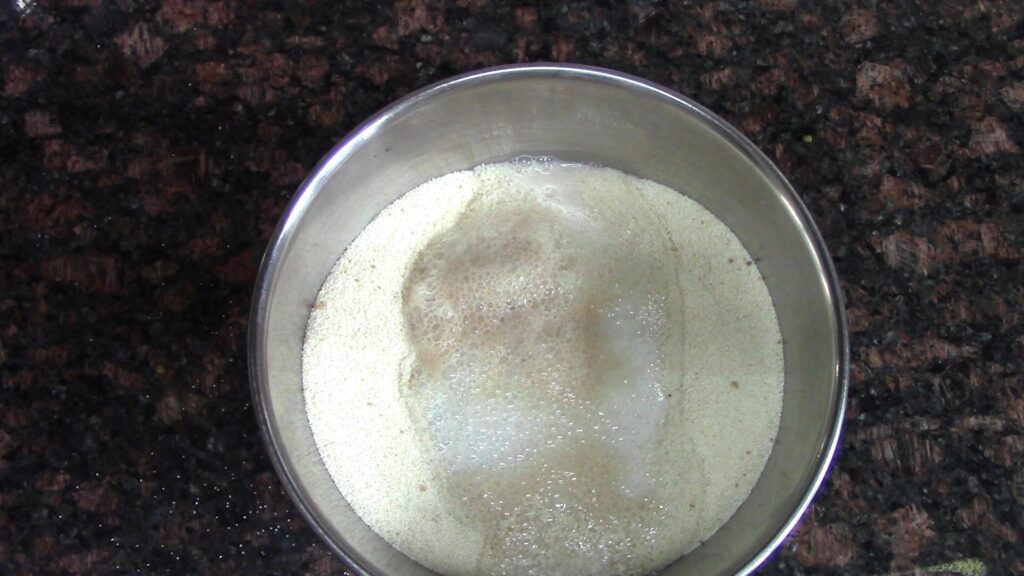
Step 1: Activate the Yeast
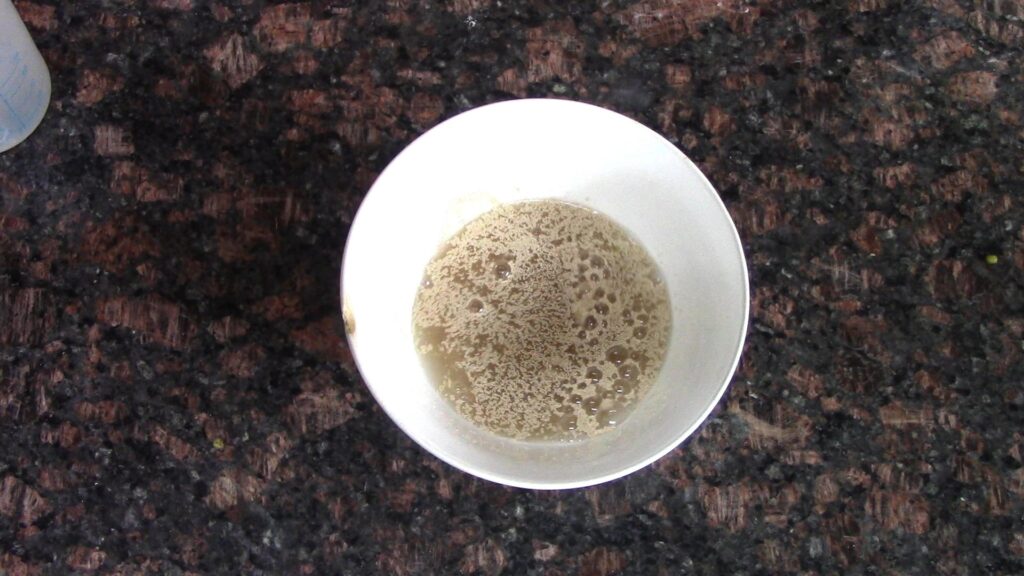
In a small bowl, combine-instant yeast, khand, and lukewarm water. Mix well and let it sit for 5–10 minutes until frothy.
Step 2: Prepare the Dough
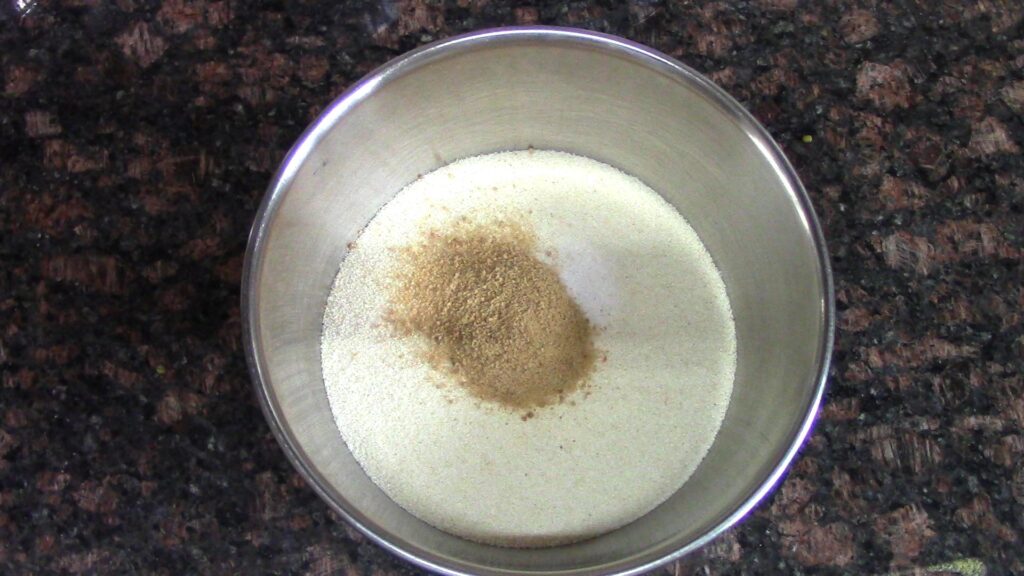
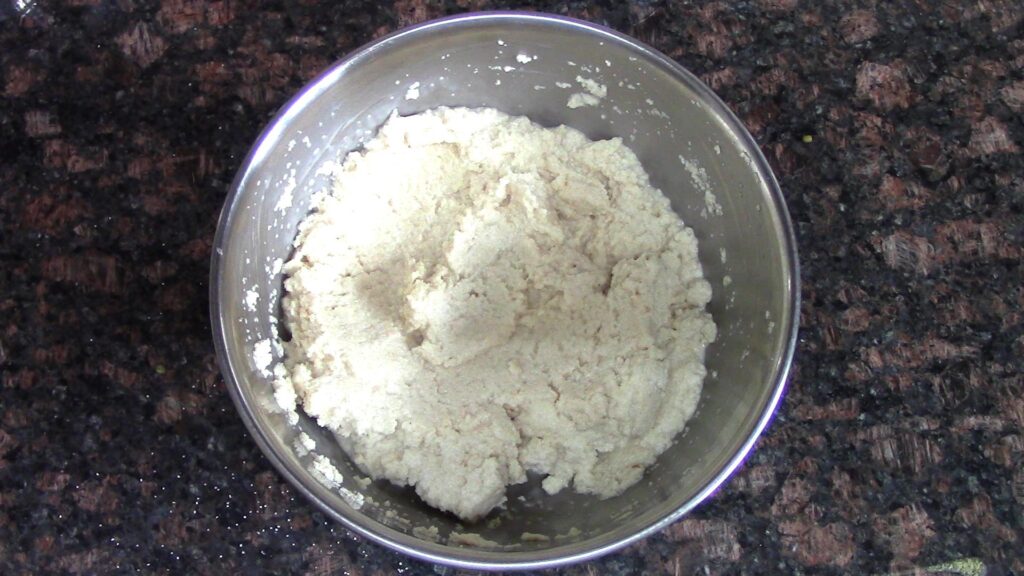
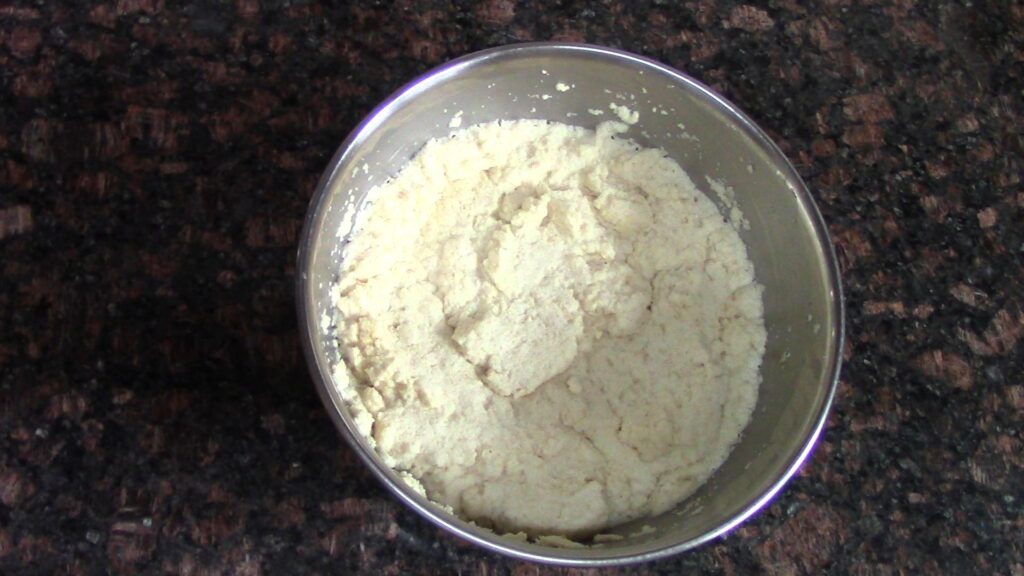
In a large mixing bowl combine suji, salt, khand, and mix well. Add the activated yeast mixture and lukewarm milk. Mix until a sticky dough forms. Cover and give it a rest for 15–20 minutes.
Step 3: Knead the Dough
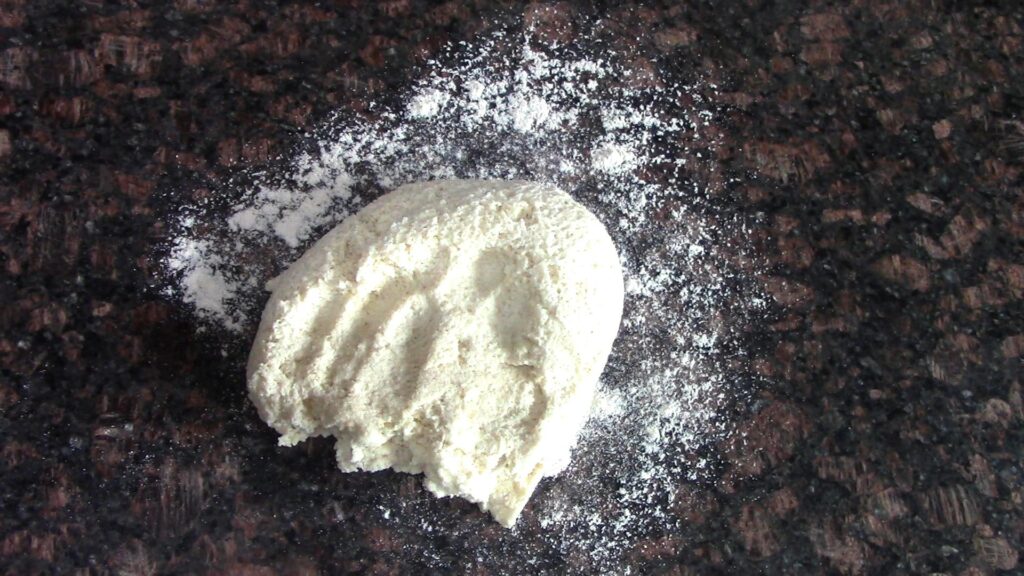
After resting, sprinkle little semolina on the kitchen counter and transfer the dough over it. The dough will feel sticky initially. Use the stretch-and-fold method and continue kneading.
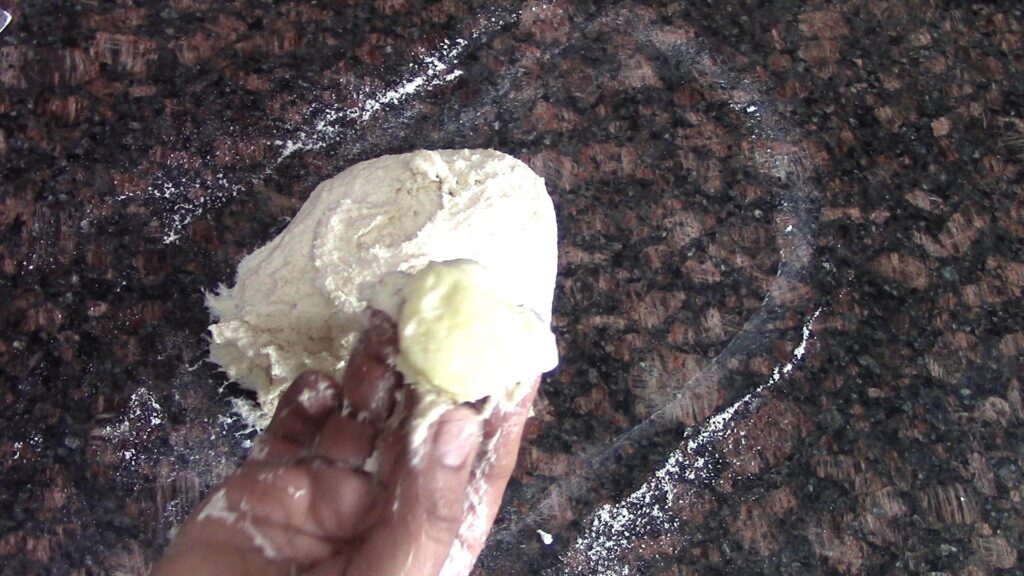
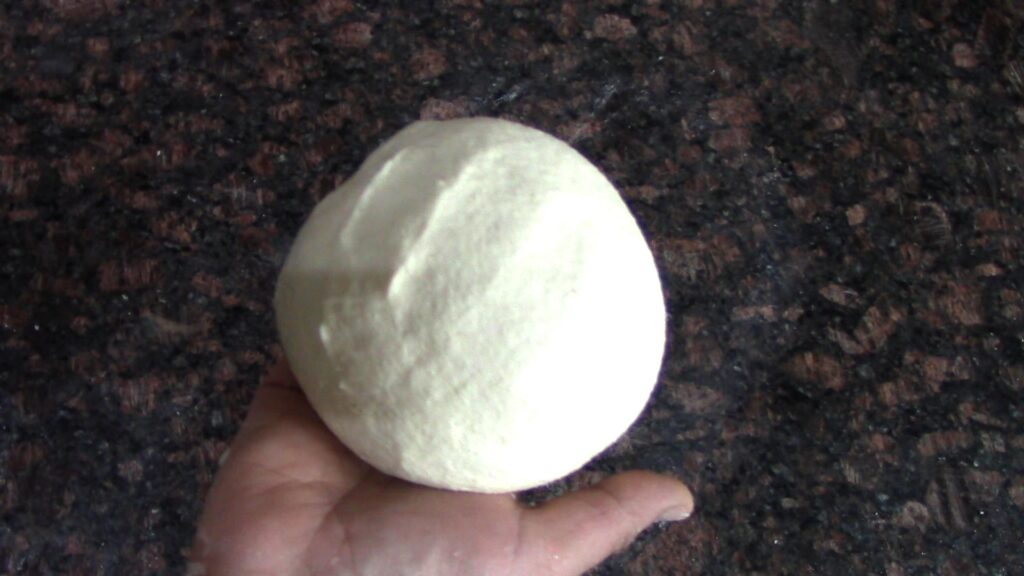
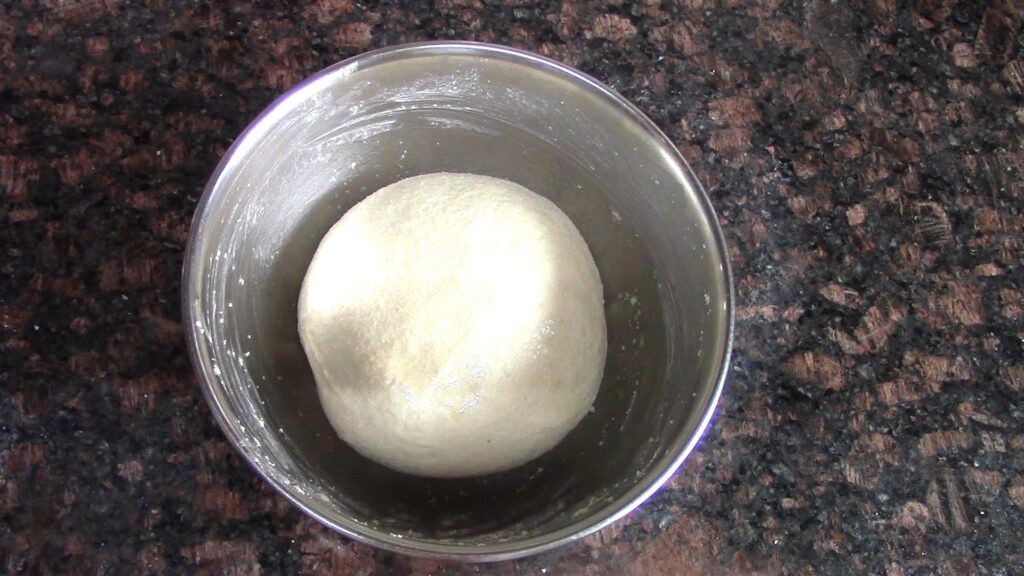
After 4-5 minutes add 2 tbsp butter. Continue kneading until the dough becomes soft, smooth and elastic. This process may take around 10 minutes.
Step 4: First Proofing
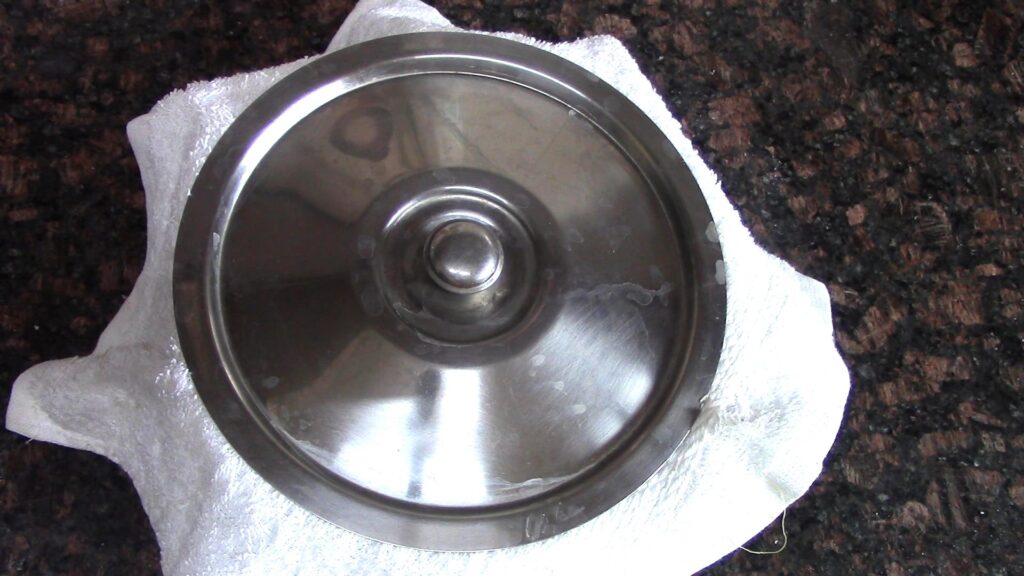
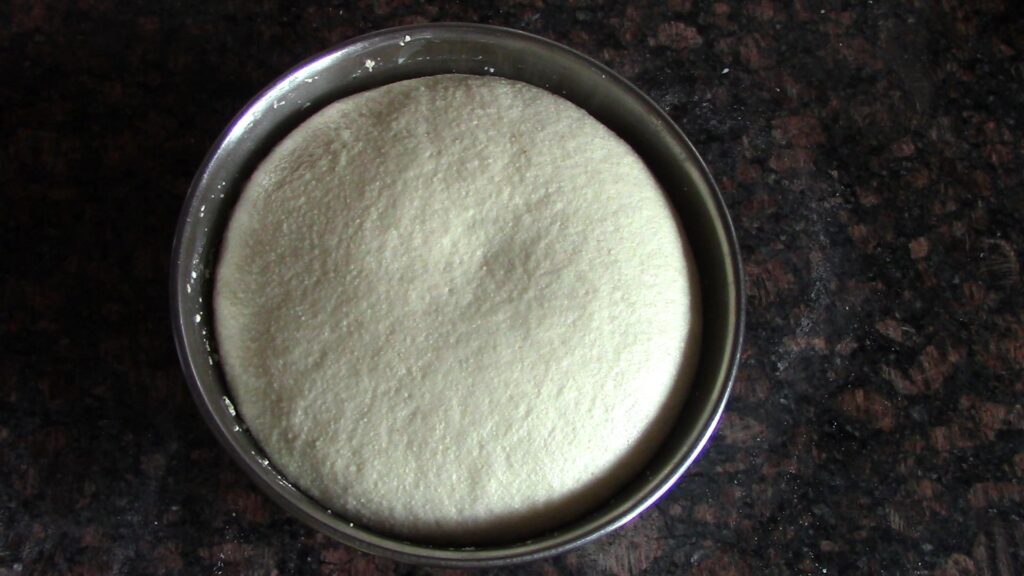
Grease a bowl with a little oil or butter. Place the dough inside and lightly brush oil on top. Cover with a towel. Keep in a warm place for 50–55 minutes or until doubled in size.
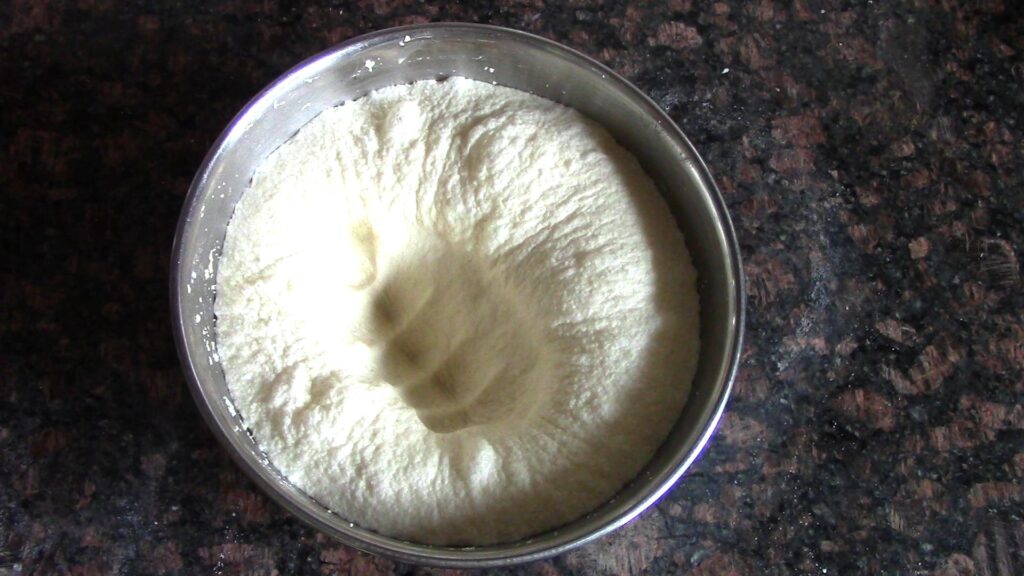
Step 5: Shape the Pav
Punch down the risen dough gently. Divide it into 3 equal portions. Further divide each portion into 3 parts. In this way you will get 9 equal dough balls. Shape each into a smooth round ball. Place them in a greased 8-inch baking tin.
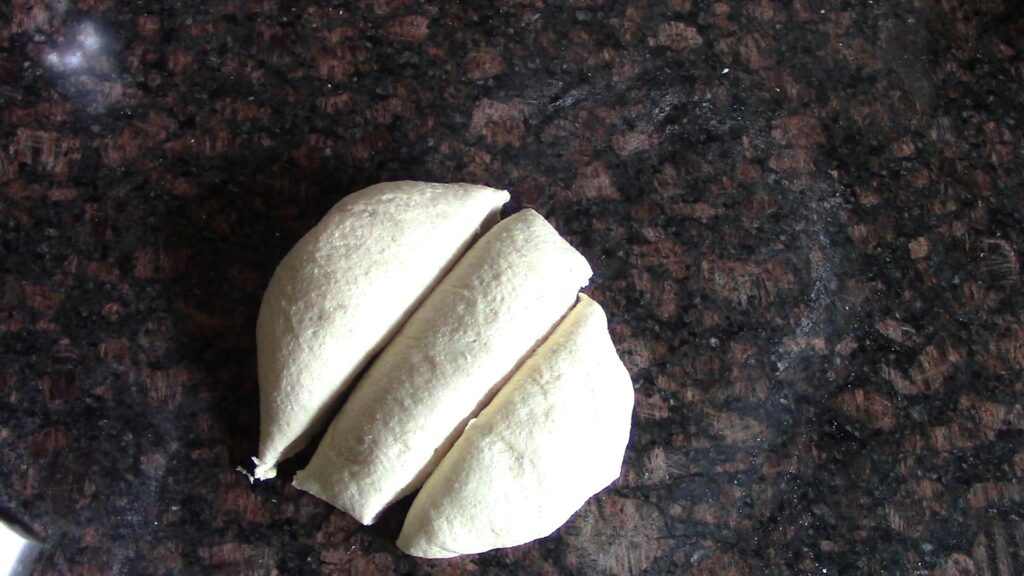
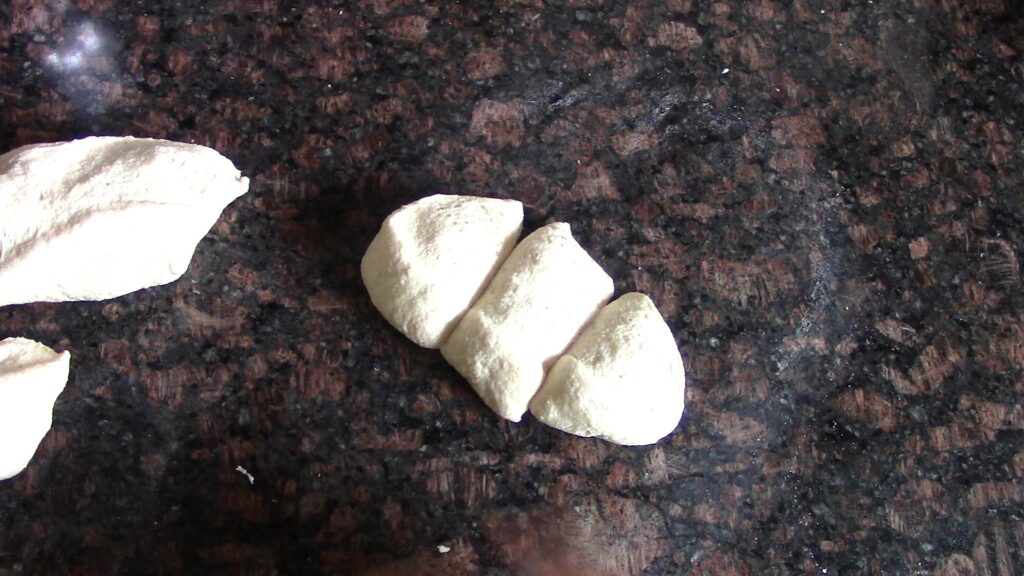
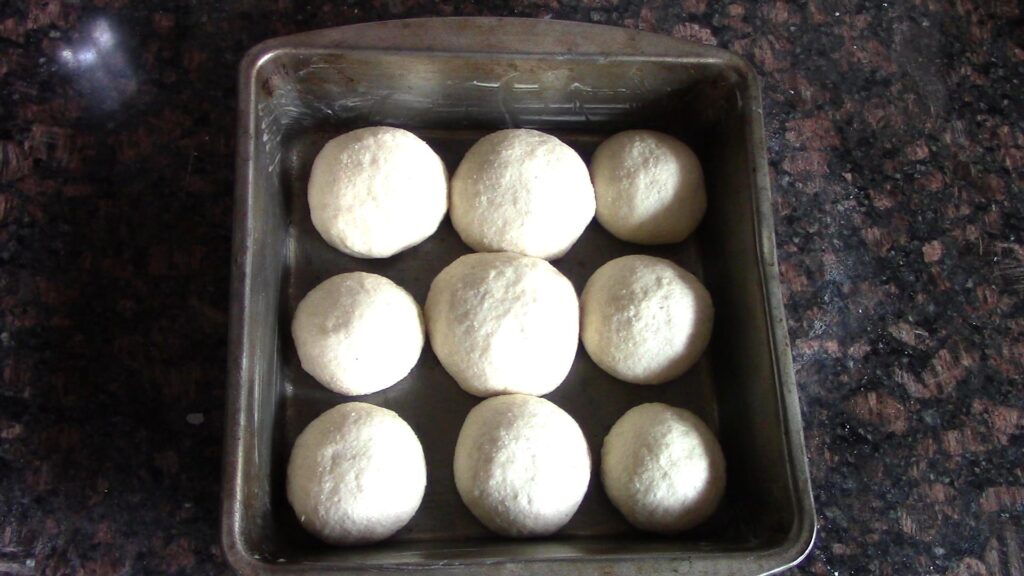
Step 6: Second Proofing
Cover the tin with a towel. Allow the dough balls to rise for 40–50 minutes. They should become puffy and almost touch each other.
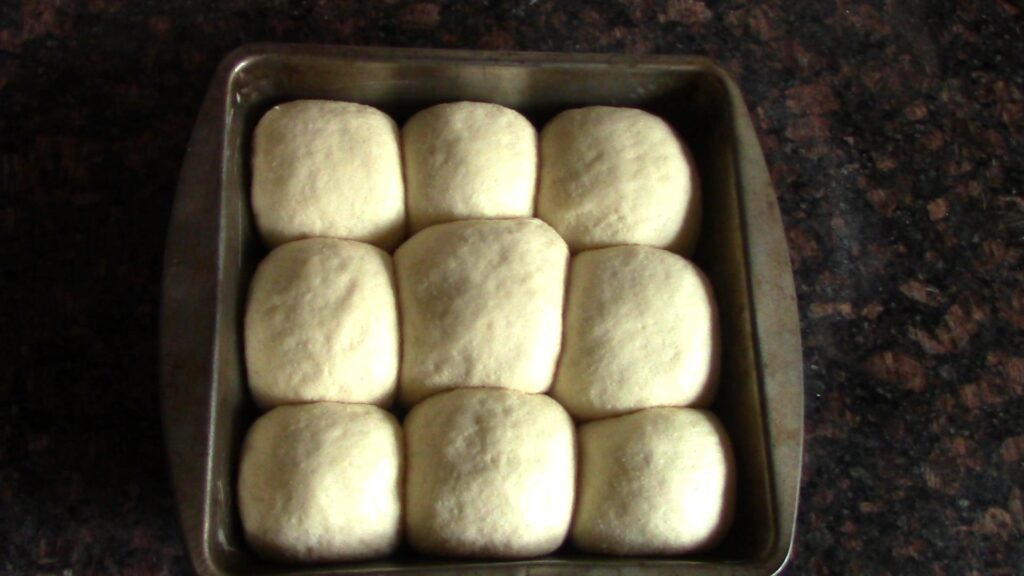
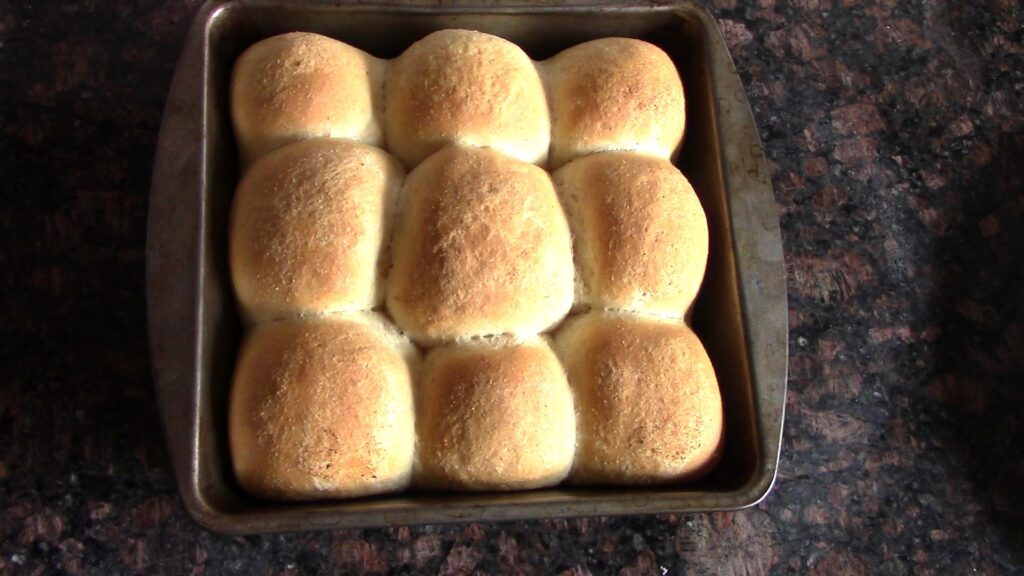
Step 7: Bake
Brush the tops lightly with butter. Bake in a preheated oven at 180°C for 25-30 minutes or until golden brown.
Step 8: Cool
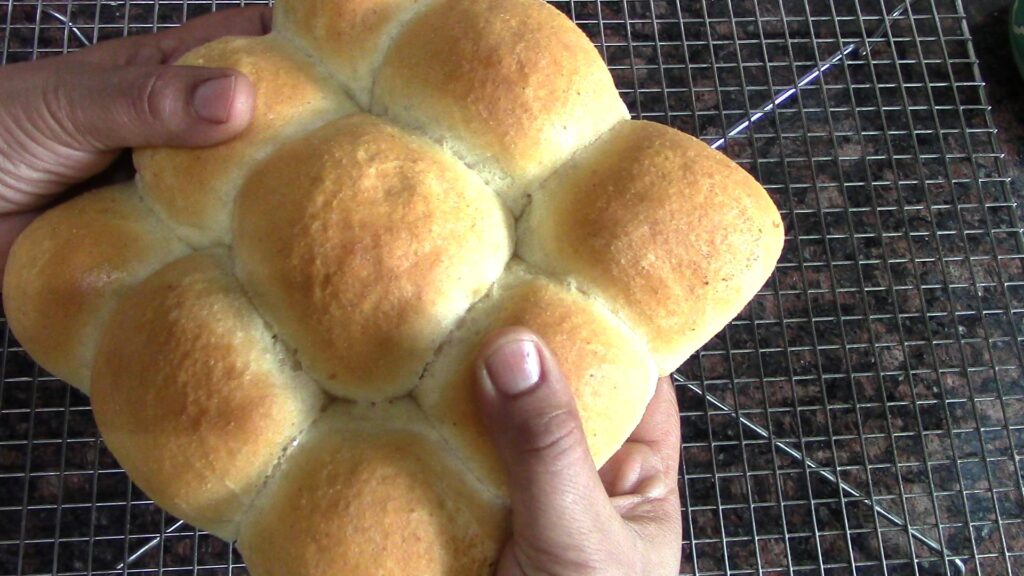
Remove from the oven. Transfer immediately to a cooling rack.
Brush with butter for a soft crust. Allow them to cool completely before serving.
Expert Tips for Making 100% Suji Pav
Use Fine Suji
Fine semolina gives a softer texture than coarse suji.
Don’t Rush Proofing
Proper proofing is the key to soft and fluffy pav.
Kneading Is Important
The dough may feel sticky at first. Continue kneading and avoid adding too much extra flour.
Check Yeast Activity
If the yeast does not become frothy, start with fresh yeast.
Brush with Butter
This helps keep the crust soft and adds great flavor.
Serving Suggestions
These pav taste amazing with:
- Pav Bhaji
- Vada Pav
- Maska Pav
- Bhaji and Curry
- Vegetable Sandwiches
- Homemade Burgers
- Breakfast Toast
Storage Tips
Store in an airtight container at room temperature for up to 2–3 days. For longer storage, refrigerate and warm slightly before serving.
Frequently Asked Questions
Can I make this recipe without eggs?
Yes. This recipe is completely eggless.
Can I use regular sugar instead of khand?
Yes, regular sugar works perfectly.
Can I make pav without yeast?
This recipe relies on yeast for its soft bakery-style texture. Results will differ without it.
Is this recipe healthier than store-bought pav?
Yes. It contains no maida, preservatives or artificial additives and is made with simple ingredients at home.
Recipe Card
Soft & Fluffy Suji Pav | Eggless, No Maida, Homemade Pav Recipe

Ingredients
- 250 g fine suji semolina
- 1¼ tsp instant yeast
- 1 tbsp khand or sugar
- 1 tsp khand or sugar for yeast activation
- ½ tsp salt
- ¼ cup lukewarm water
- ½ cup lukewarm milk
- 2 tbsp butter
Instructions
Step 1: Activate the Yeast
- In a small bowl, combine-instant yeast, khand, and lukewarm water. Mix well and let it sit for 5–10 minutes until frothy.
Step 2: Prepare the Dough
- In a large mixing bowl combine suji, salt, khand, and mix well. Add the activated yeast mixture and lukewarm milk.
- Mix until a sticky dough forms. Cover and give it a rest for 15–20 minutes.
Step 3: Knead the Dough
- After resting, sprinkle little semolina on the kitchen counter and transfer the dough over it.
- The dough will feel sticky initially. Use the stretch-and-fold method and continue kneading.
- After 4-5 minutes add 2 tbsp butter. Continue kneading until the dough becomes soft, smooth and elastic.
- This process may take around 10 minutes.
Step 4: First Proofing
- Grease a bowl with a little oil or butter. Place the dough inside and lightly brush oil on top. Cover with a towel.
- Keep in a warm place for 50–55 minutes or until doubled in size.
Step 5: Shape the Pav
- Punch down the risen dough gently. Divide it into 3 equal portions.
- Further divide each portion into 3 parts. In this way you will get 9 equal dough balls.
- Shape each into a smooth round ball. Place them in a greased 8-inch baking tin.
Step 6: Second Proofing
- Cover the tin with a towel. Allow the dough balls to rise for 40–50 minutes.
- They should become puffy and almost touch each other.
Step 7: Bake
- Brush the tops lightly with butter. Bake in a preheated oven at 180°C for 25-30 minutes or until golden brown.
Step 8: Cool
- Remove from the oven. Transfer immediately to a cooling rack.
- Brush with butter for a soft crust. Allow them to cool completely before serving.
Video
Notes
- Fine semolina gives a softer texture than coarse suji.
- Proper proofing is the key to soft and fluffy pav.
- The dough may feel sticky at first. Continue kneading and avoid adding too much extra flour.
- If the yeast does not become frothy, start with fresh yeast.
- This helps keep the crust soft and adds great flavor.
These Healthy Suji Pav are proof that homemade bread can be soft, fluffy and delicious without using maida or preservatives. Whether you’re making pav bhaji, vada pav or simply enjoying them with butter, these wholesome pav are sure to become a family favorite.
Try this recipe and let me know how it turned out for you!


